instruction manual for singer simple sewing machine
Since 1851‚ SINGER has been a sewing icon‚ offering machines for mends‚ embroidery‚ and quilts. Explore options tailored to your creative needs today!
Understanding Your Machine’s Capabilities
The SINGER Simple series‚ including models like the 3232 and 2263‚ are designed for straightforward sewing projects. These machines boast a selection of built-in stitches – the Heavy Duty 4452 offers 32 – suitable for basic alterations‚ crafting‚ and simple garment construction.
Whether you’re a beginner or revisiting sewing‚ these machines provide essential functionality. They handle various fabric types‚ though heavier materials benefit from the “Heavy Duty” models. Accessing free digital manuals and readily available parts & accessories‚ like needles and presser feet‚ enhances usability. Explore the SINGER website for deals and resources to maximize your machine’s potential.
Safety Precautions
Always disconnect the power supply before threading‚ changing the needle‚ or performing any maintenance on your SINGER machine. Keep fingers away from the needle while sewing; use the needle plate as a guide. Never pull fabric while the machine is running‚ as this can cause injury or damage.
Ensure the machine is stable and on a flat surface during operation. Do not operate the machine if it’s damaged or malfunctioning. Keep the power cord away from heat and sharp edges. Supervise children when they are near the sewing machine. Refer to your specific model’s instruction manual for detailed safety guidelines and warnings.
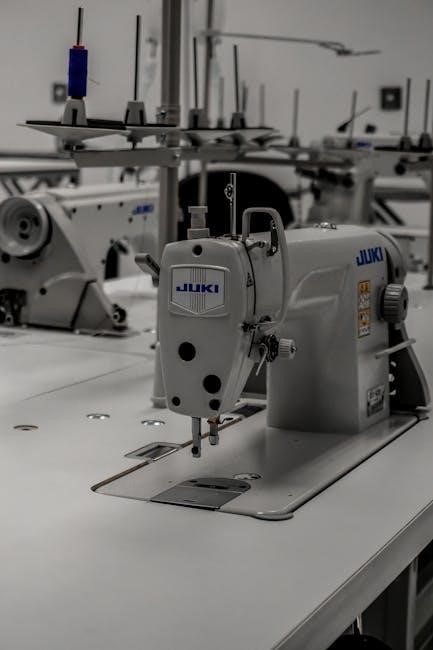
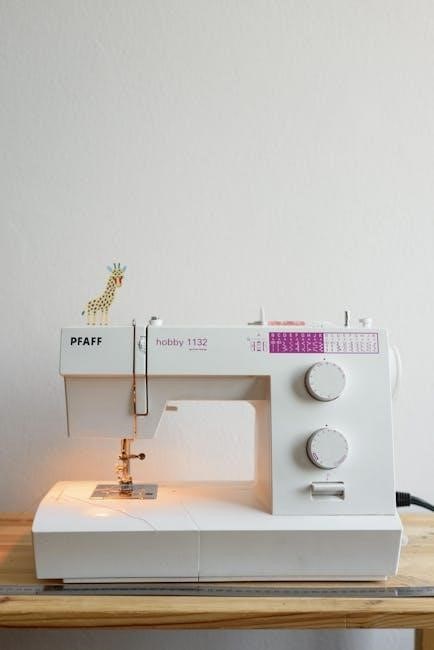
Machine Components & Identification
Familiarize yourself with key parts like the presser foot‚ needle‚ bobbin case‚ and thread spools for optimal sewing machine performance and control.
Identifying Key Parts: A Visual Guide
Understanding your Singer Simple machine begins with recognizing its core components. The presser foot secures fabric during stitching‚ while the needle‚ crucial for forming stitches‚ requires careful selection based on fabric type. Locate the bobbin case‚ holding the lower thread‚ and the spool pin‚ which manages the upper thread.
The handwheel allows manual control‚ and the stitch selection dial lets you choose stitch patterns. Don’t overlook the tension dial‚ vital for balanced stitches‚ and the reverse lever for reinforcing seams. Explore accessories like various presser feet – each designed for specific tasks – and ensure you have compatible needles and bobbins readily available. A clear understanding of these parts will greatly enhance your sewing experience.
Bobbin Winding System
Proper bobbin winding is essential for consistent stitch quality. Begin by placing the thread spool on the spool pin‚ guiding it through the thread guides. Next‚ insert the empty bobbin onto the bobbin winder spindle. Engage the bobbin winder by pushing it to the right; this automatically disengages the needle.
Hold the thread tail firmly as you begin winding by gently pressing the foot pedal. Allow the bobbin to fill evenly‚ avoiding overfilling. Once complete‚ disengage the bobbin winder and trim the thread. A correctly wound bobbin ensures smooth‚ even stitching. Refer to your machine’s diagram for specific threading paths and winding instructions for optimal results.
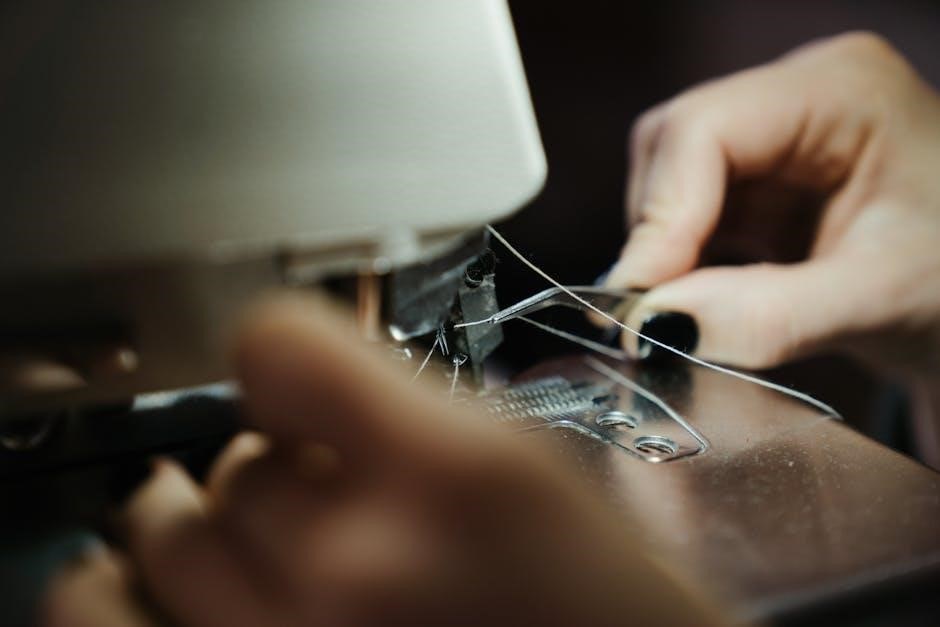
Threading the Machine: Step-by-Step
Accurate threading is crucial for proper machine function. Start by raising the presser foot; this opens the tension discs. Guide the thread from the spool‚ through the first thread guide‚ and then down and around the tension disc. Continue threading through the take-up lever‚ ensuring it’s fully inserted.
Next‚ thread the needle from front to back. Finally‚ draw up a length of thread under the presser foot and to the rear. Always refer to your machine’s threading diagram for a visual guide. Incorrect threading can cause skipped stitches or tension issues‚ so double-check each step for accuracy.

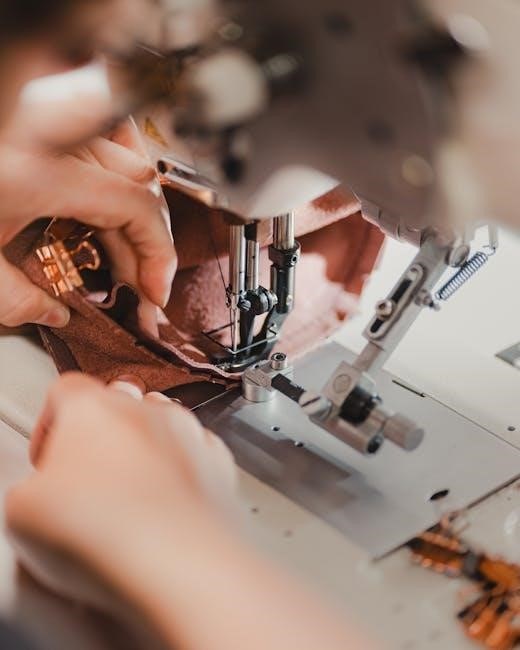
Basic Sewing Techniques
Mastering fundamental techniques—bobbin insertion‚ upper threading‚ and winding—unlocks your sewing machine’s potential for various projects‚ from repairs to creations.
Inserting the Bobbin
Begin by ensuring your machine is powered off for safety. Locate the bobbin compartment‚ typically found beneath the needle plate. Open the compartment door or cover. The type of bobbin system varies; some machines utilize a drop-in bobbin‚ while others use a front-loading bobbin case.
For a drop-in system‚ insert the bobbin with the thread unwinding in a clockwise direction. Guide the thread through the tension slot or guide. For a front-loading system‚ place the bobbin into the bobbin case‚ ensuring the thread unwinds correctly‚ and then insert the case into the machine.
Finally‚ draw up the bobbin thread by gently holding the upper thread and turning the handwheel towards you. This will loop the bobbin thread‚ ready for sewing. Refer to your specific model’s manual for detailed diagrams and instructions.
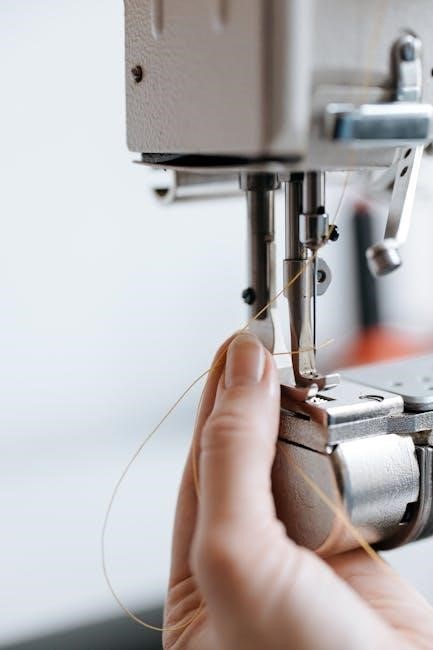
Threading the Upper Thread
Start with the machine off and the presser foot raised. Locate the spool pin and place your thread spool onto it. Guide the thread through the first thread guide‚ typically a small metal loop. Next‚ lead the thread down and around the tension discs – ensuring it sits firmly between them is crucial for proper stitch formation.
Continue threading through the take-up lever‚ which moves up and down as you sew. Then‚ guide the thread through another thread guide‚ and finally‚ thread the needle from front to back. A needle threader can be helpful for easier threading.
Draw up a few inches of thread under the presser foot‚ holding the upper thread gently while turning the handwheel towards you.
Winding the Bobbin
Begin by placing the thread spool on the spool pin. Then‚ guide the thread through the designated thread guides for bobbin winding. Next‚ place an empty bobbin onto the bobbin winder spindle. Secure the thread end onto the bobbin by winding it around a few times by hand.
Engage the bobbin winder by sliding it into position. Press the foot pedal gently to start winding. The machine will automatically stop when the bobbin is full.
Once complete‚ disengage the bobbin winder‚ remove the bobbin‚ and trim the thread end. Ensure the bobbin is wound evenly for consistent stitching. Proper bobbin winding is essential for smooth sewing operation.
Stitch Selection & Adjustment
SINGER machines offer 32 built-in stitches‚ allowing for diverse projects. Easily adjust stitch length and width for customized results‚ including reverse stitching.
Understanding Built-in Stitches
The SINGER Simple sewing machines‚ like the Heavy Duty 4452‚ boast a selection of built-in stitches designed to cater to a wide range of sewing projects. These aren’t just for basic seams; they unlock creative possibilities! You’ll typically find stitches for straight sewing‚ zigzag applications‚ and decorative embellishments.
Understanding what each stitch accomplishes is key. Straight stitches are ideal for constructing garments and general sewing. Zigzag stitches provide stretch and are perfect for finishing raw edges or creating decorative effects. Many machines also include buttonhole stitches‚ allowing you to easily create professional-looking buttonholes. Explore your machine’s manual to fully grasp the function of each stitch and how it can enhance your sewing endeavors. Experimenting with different stitches will broaden your skillset and inspire new project ideas!
Adjusting Stitch Length and Width
Precise control over stitch length and width is crucial for achieving professional results with your SINGER machine. These adjustments directly impact the appearance and strength of your seams. Typically‚ dials or electronic controls allow you to modify these settings easily.
Shorter stitch lengths are ideal for delicate fabrics or areas requiring extra reinforcement‚ while longer stitch lengths are suitable for basting or heavier materials. Stitch width controls the zigzag pattern’s breadth; wider widths create bolder designs‚ and narrower widths offer subtle detailing. Always test your settings on a scrap fabric before starting your project to ensure the desired outcome. Refer to your machine’s manual for specific guidance on adjusting these parameters for optimal performance and fabric compatibility.
Reverse Stitching
Reverse stitching‚ often indicated by a dedicated lever or button‚ is essential for securing the beginning and end of seams‚ preventing unraveling. Engaging this function temporarily reverses the stitch direction‚ effectively backstitching over your previous stitches.
Typically‚ a few reverse stitches – two to three – are sufficient to anchor a seam. Avoid excessive reverse stitching‚ as it can create bulkiness and potentially damage the fabric. Some SINGER models offer a reverse stitch function that allows you to stitch a predetermined number of reverse stitches automatically. Always test the reverse function on scrap fabric to ensure proper alignment and stitch quality. Consult your machine’s manual for specific instructions on utilizing the reverse stitch feature effectively and efficiently.
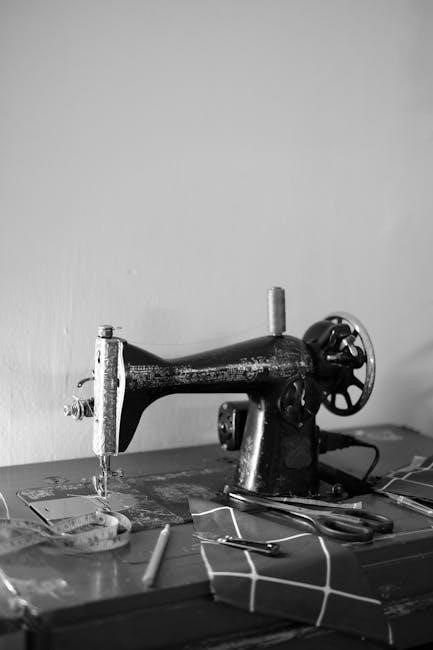
Maintenance & Troubleshooting
Regular cleaning‚ oiling‚ and addressing issues like thread jamming are vital for a smoothly running SINGER machine and prolonged‚ reliable performance.
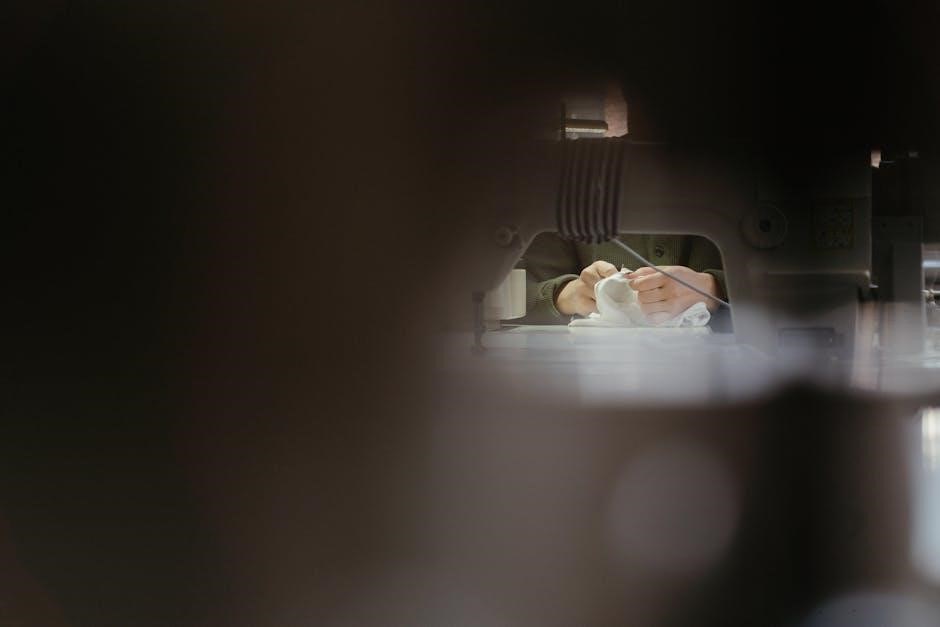
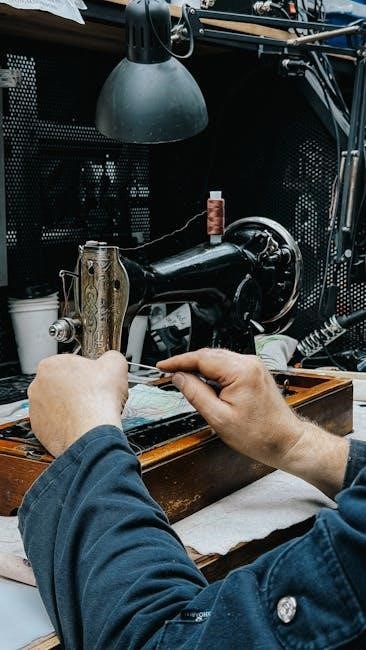
Cleaning Your Singer Simple Machine
Maintaining a clean sewing machine is crucial for optimal performance and longevity. Before any cleaning‚ always disconnect the power supply. Begin by removing the needle‚ presser foot‚ and bobbin case. Use a brush – often included with your machine – to remove lint and dust from the bobbin area‚ feed dogs‚ and surrounding components.
A small vacuum cleaner with a brush attachment can also be helpful for removing stubborn debris. Wipe down the exterior of the machine with a soft‚ damp cloth. Avoid using harsh chemicals or abrasive cleaners‚ as these can damage the finish. For hard-to-reach areas‚ a cotton swab dipped in sewing machine oil can be used carefully. Regularly cleaning your SINGER Simple machine will ensure smooth operation and prevent potential issues.
Troubleshooting Common Issues (Thread Jamming‚ etc;)
Thread jamming is a frequent issue; first‚ re-thread both the upper thread and bobbin‚ ensuring correct paths. Check the needle – a bent or dull needle can cause problems. Clean the bobbin area thoroughly‚ removing any lint or tangled threads. Ensure the presser foot is down while sewing‚ as this engages the feed dogs.
If the machine still jams‚ try a different type of thread or needle suitable for your fabric. For skipped stitches‚ verify the needle is correctly inserted and fully seated. If issues persist‚ consult the full instruction manual or the SINGER website for detailed diagrams and support. Regular maintenance prevents many of these common problems.
Oiling and Lubrication
Regular lubrication is crucial for maintaining your SINGER Simple machine’s smooth operation. Refer to your machine’s manual for specific oiling points – typically‚ these include the bobbin area‚ hook assembly‚ and any moving parts indicated in the diagrams. Use only SINGER sewing machine oil; other oils can cause build-up and damage.
Apply oil sparingly‚ a drop at a time‚ and wipe away any excess. Avoid over-oiling‚ as this attracts dust and lint. Perform oiling every few months with regular use‚ or more frequently if the machine sounds stiff or is used heavily. Proper lubrication extends the life of your machine and ensures consistent stitch quality.
Accessories & Their Uses
Enhance your sewing with SINGER accessories like presser feet‚ needles‚ and bobbins. These tools upgrade creativity and keep your machine running smoothly!

Presser Feet Guide
SINGER sewing machines boast a variety of presser feet‚ each designed for specific tasks. The standard presser foot is ideal for everyday sewing projects‚ handling woven and knit fabrics with ease. A zipper foot simplifies installing zippers‚ guiding the fabric close to the teeth for precise stitching.
For buttonholes‚ utilize the buttonhole foot‚ ensuring consistent and professional results. A satin stitch foot provides a smooth finish for decorative stitches‚ while the overcast foot prevents fabric fraying. Explore additional feet like the gathering foot for creating ruffles and the blind hem foot for invisible hems. Understanding each foot’s purpose unlocks your machine’s full potential‚ allowing for diverse and intricate sewing endeavors.
Needle Selection for Different Fabrics
Choosing the correct needle is crucial for optimal sewing performance and fabric preservation. Universal needles work well with woven fabrics like cotton and polyester. Knit fabrics require ballpoint needles to avoid snagging or creating runs‚ gently gliding between the fibers.
Denim or heavy fabrics necessitate jeans needles‚ built to penetrate dense materials without bending or breaking. For delicate fabrics like silk or chiffon‚ use sharp needles to prevent damage. Needle size also matters; smaller numbers suit finer fabrics‚ while larger numbers are for heavier materials. Regularly replacing your needle ensures clean stitches and prevents skipped stitches or thread breakage.